
Last updated October 31, 2026
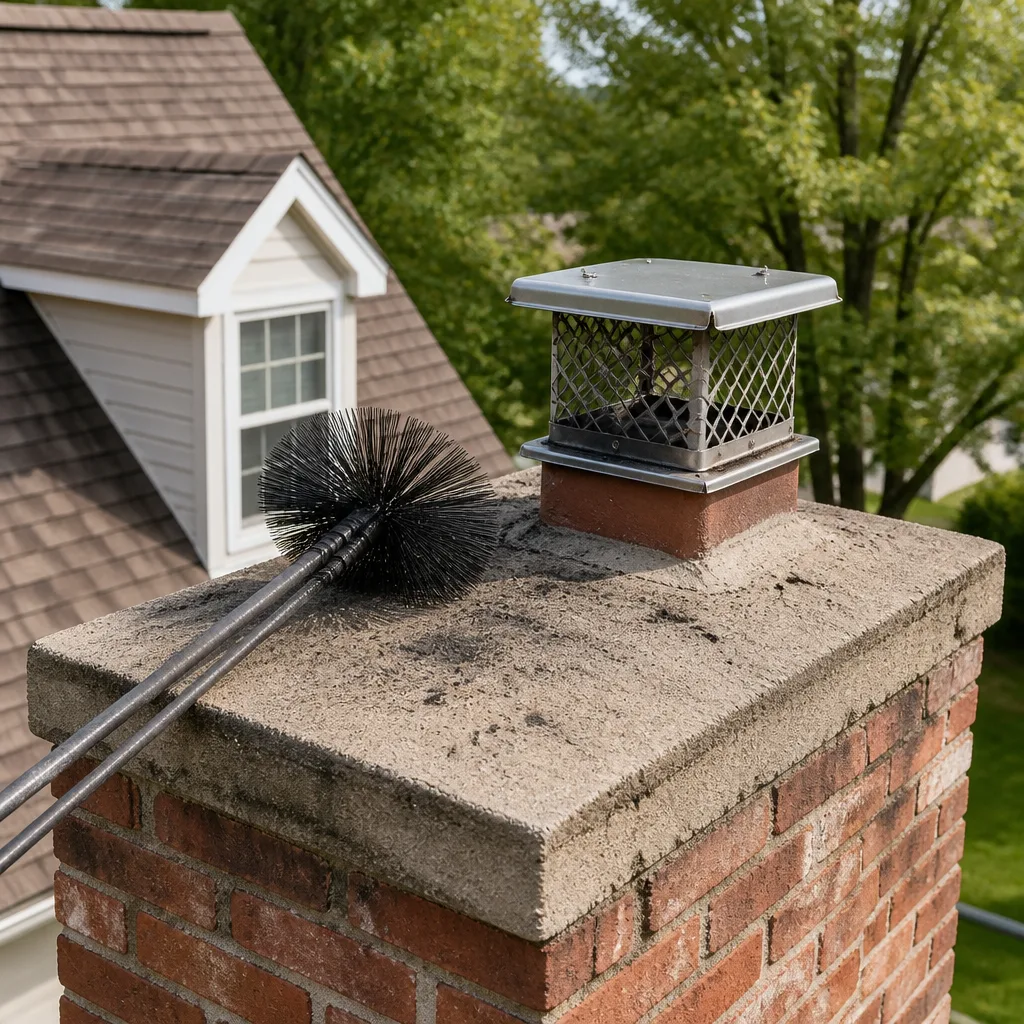 Sweep & inspection
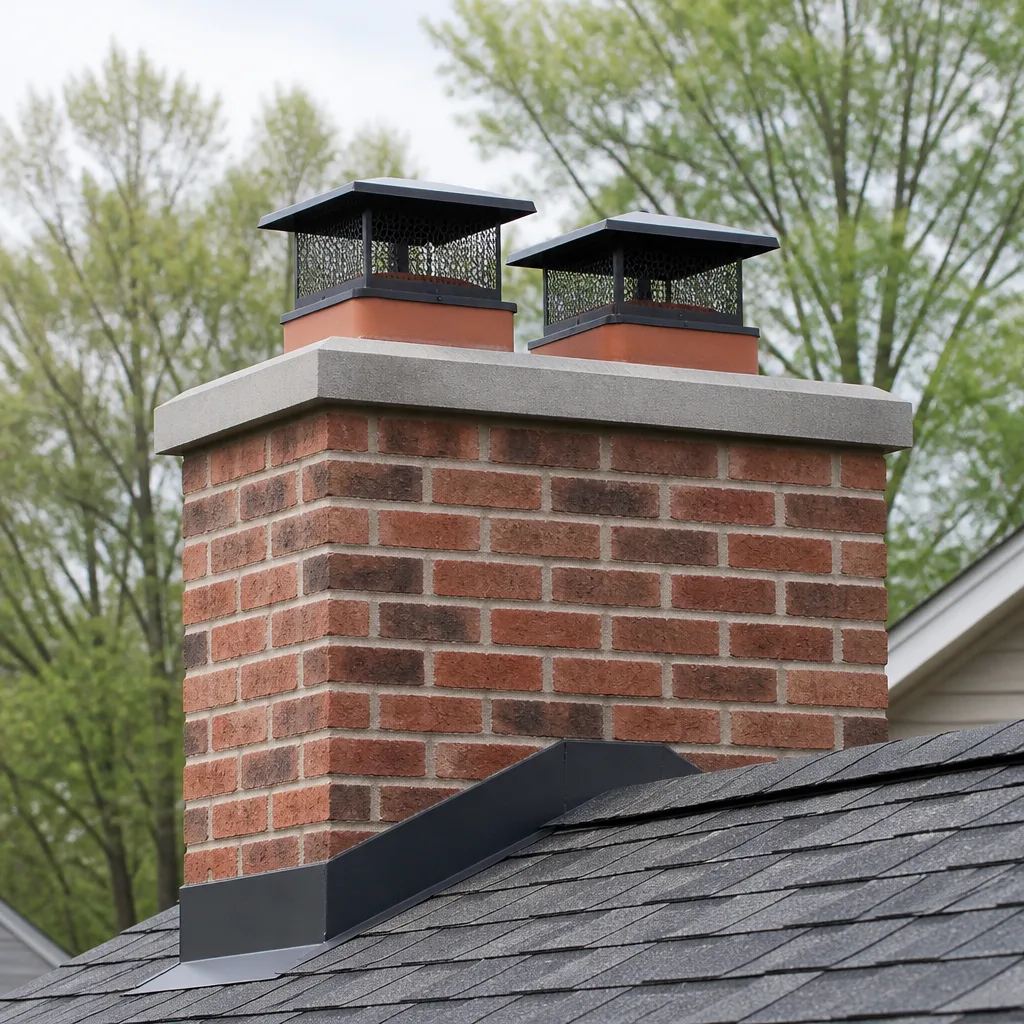 Caps & crowns
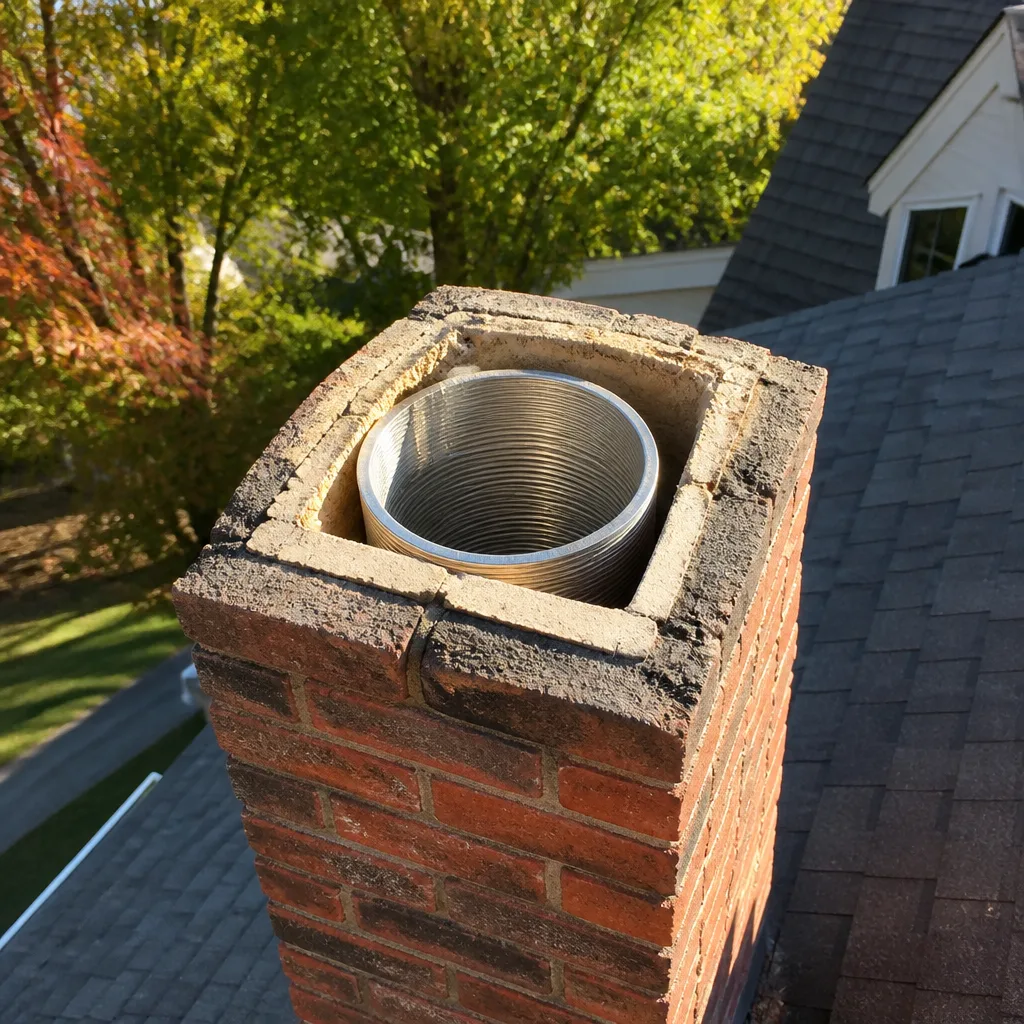 Flue relining
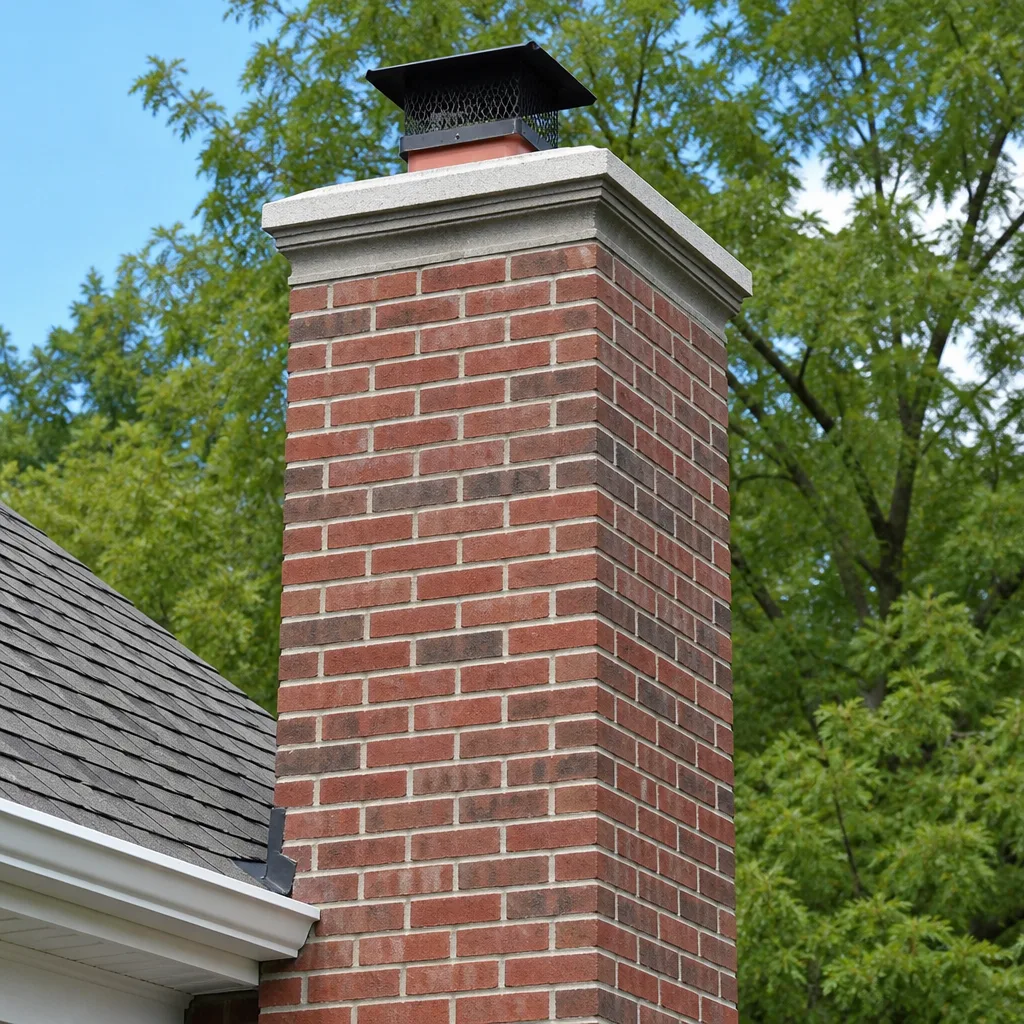 Masonry repair
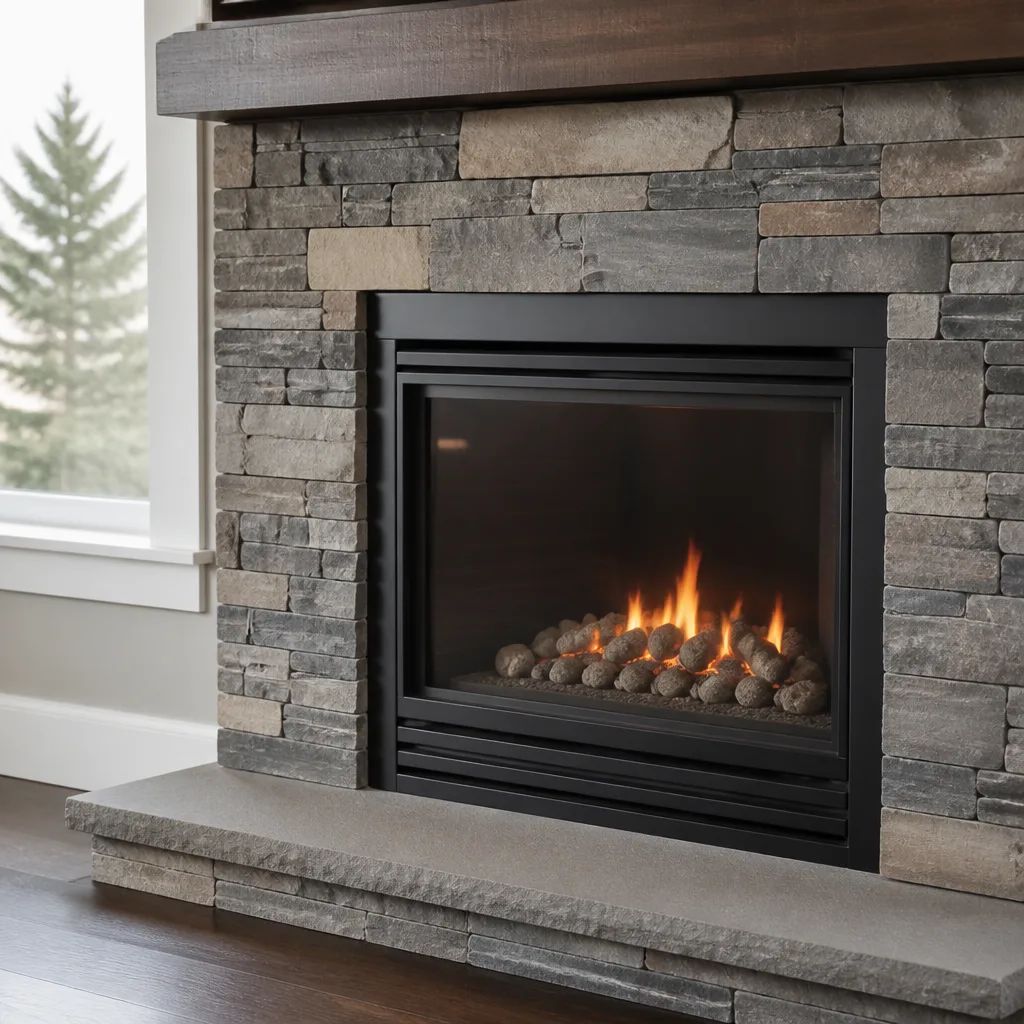 Gas fireplace service
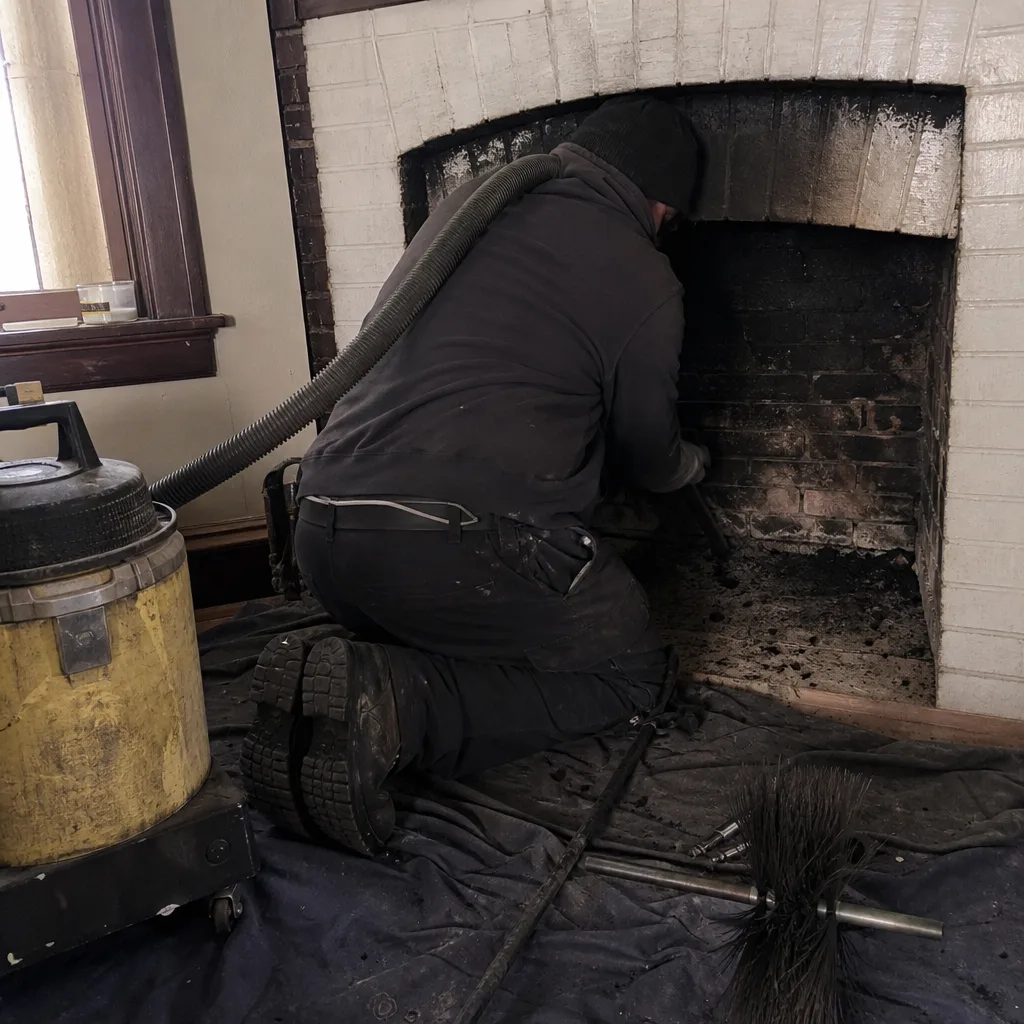
Level 1 sweep and inspection to the NFPA 211 annual standard - flue, crown, cap, and flashing checked and photographed
Chimney sweep logs do not sweep chimneys. They loosen some creosote - which then falls where a brush and vacuum still have to collect it.
Chimney Sweep Maintenance Checklist for West Town Homeowners
Most chimney checklists you’ll find online are written for a generic suburban house with a standard masonry fireplace. West Town doesn’t work that way. Half our neighborhood is 1890s greystones and brick workers cottages with original masonry chimneys, and the other half is 2000s-era additions and condos with factory-built fireplace units. Those two systems fail in completely different ways, age at different rates, and need different maintenance schedules. A homeowner who checks a zero-clearance unit like it’s a century-old masonry chimney wastes time and misses the actual failure points. This guide organizes maintenance by chimney type, because that’s the only way a checklist actually works in West Town.
Styles & brands we work with
Quick Answer
A proper chimney maintenance checklist for West Town homeowners has three tracks: masonry chimney owners need twice-annual visual checks of the crown, cap, flashing, and smoke chamber for spalling, plus an annual professional sweep if you burn wood more than twice a month through winter. Factory-built fireplace owners need to verify the refractory panels, glass gasket seals, and termination cap annually, with our Chimney Sweep services for a professional inspection every two years. Everyone should log maintenance dates in a simple written record, because insurance adjusters and future buyers both ask for that documentation.
Table of Contents
- Masonry vs. Factory-Built: Why Your Checklist Depends on Your Chimney Type
- The Masonry Chimney Maintenance Checklist
- The Factory-Built Fireplace Maintenance Checklist
- Visual Checks You Can Do from a Window or Rooftop Deck
- Three Damper Checks Before the First Fire
- How to Log Maintenance History for Insurance and Resale
- When a DIY Visual Check Is Enough vs. When You Need a Camera Inspection
- Common Mistakes to Avoid
- When to Call a Professional
- Frequently Asked Questions
- The Bottom Line
Masonry vs. Factory-Built: Why Your Checklist Depends on Your Chimney Type
West Town’s housing stock splits cleanly into two eras, and each has its own failure profile. Pre-1940 masonry chimneys are built from brick and mortar with a clay tile flue liner. They handle wood-burning fireplaces beautifully, but the mortar joints start spalling after 60 to 80 years of Chicago freeze-thaw cycles. Once water gets into those joints and freezes, the brick face pops off in flakes. That’s the spalling process, and in West Town it’s the single most common structural issue we see on greystone and brick cottage chimneys.
Factory-built fireplaces, sometimes called zero-clearance units, are metal boxes with double-wall chimney pipe. They’re the standard in West Town condo conversions and newer single-family additions from the 1990s onward. These units don’t have mortar to spall, but they have refractory panels inside the firebox that crack from heat stress, gaskets on the glass doors that wear out, and termination caps that clog with snow or debris. A maintenance checklist that ignores these components misses the point entirely.
The distinction matters because the repair economics are different. A spalled smoke chamber in a masonry chimney can run $800 to $2,000 to parge or rebuild once the damage has progressed through two heating seasons. A cracked refractory panel in a factory unit is usually a $200 to $400 replacement, but if you keep burning with a cracked panel, heat reaches the metal shell behind it and can warp the entire firebox. Different failure points, different costs, different checklists. We cover Chimney Sweep in West Town for both systems, but the maintenance routine starts with knowing which one you own.
The Masonry Chimney Maintenance Checklist
If your West Town home predates 1940, or if you have an exposed brick chimney running up the side of a greystone or cottage, you’re on the masonry track. Here’s the maintenance sequence that prevents the expensive repairs. The first three items you can do yourself. The last two require professional equipment.
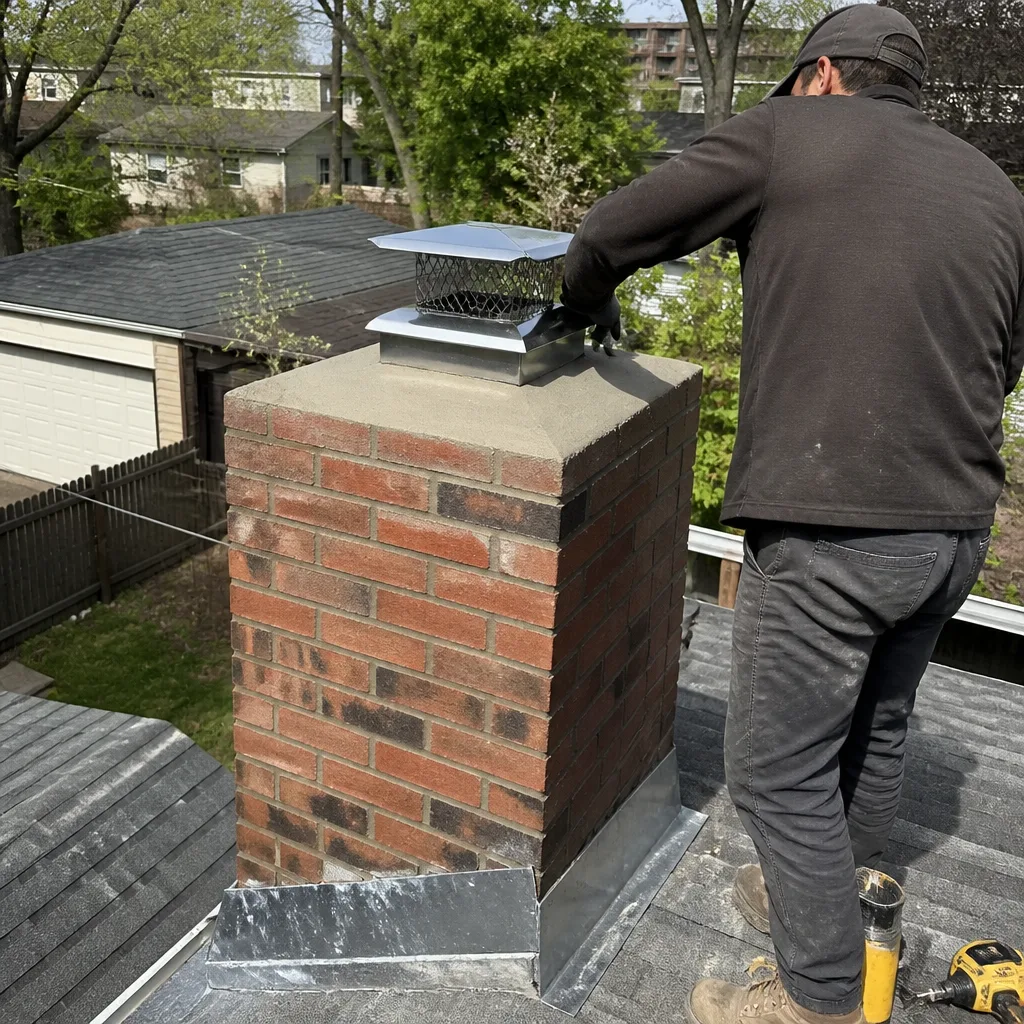
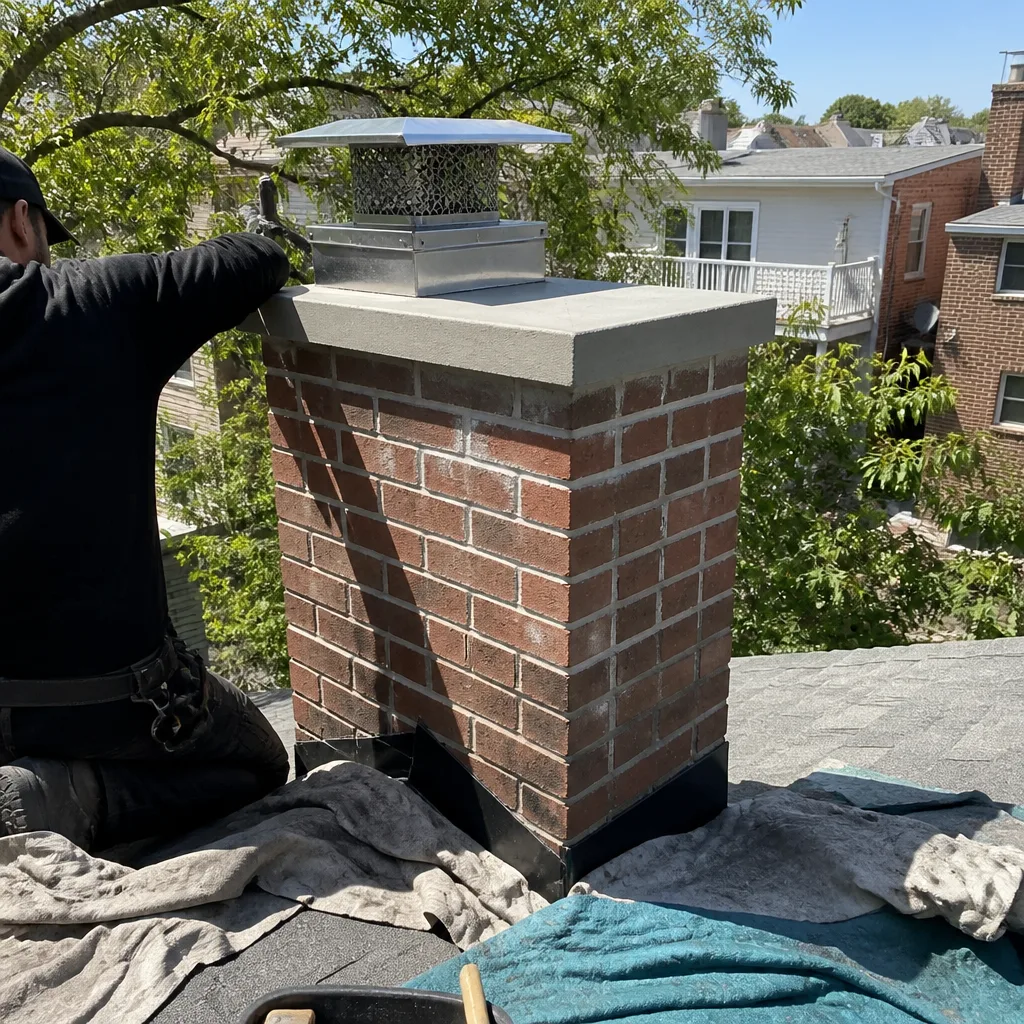
- Check the crown every spring and fall. The crown is the concrete cap on top of the chimney. Look for hairline cracks from a second-floor window or rooftop deck. Hairline cracks that aren’t addressed become wide cracks after one winter of freeze-thaw, and a cracked crown is the direct cause of spalled brick below. In West Town, where winter temperatures swing above and below freezing dozens of times per season, crown cracks don’t stay small for long.
- Inspect the flashing twice a year. Flashing is the metal seal where the chimney meets the roof. You can see it from the ground with binoculars or from a second-floor window if the chimney rises past your sightline. Look for gaps, lifted edges, or rust streaks running down the brick. Failed flashing lets water run directly into the attic, and by the time you see a ceiling stain inside, the flashing has been leaking for months.
- Examine mortar joints from top to bottom. Run your eyes down the exposed brick. Mortar that’s recessed more than a quarter inch from the brick face, or crumbling in a sandy texture, is deteriorating. Tuckpointing small sections costs a few hundred dollars. Rebuilding an entire chimney stack after years of neglected mortar costs several thousand and sometimes requires partial demolition down to the roofline.
- Have the flue liner camera-inspected every two years. This is the step most homeowners skip, because you can’t see a clay tile liner from the outside. A camera inspection reveals cracked tiles, gaps between sections, and creosote glaze buildup that a visual chimney-top inspection misses. For West Town masonry chimneys that still have original clay liners, a cracked tile is not just a maintenance item. It’s a fire-safety issue, because the gap lets heat and gases reach the brick and surrounding framing.
- Schedule a professional sweep annually if you burn wood regularly. The National Fire Protection Association standard, NFPA 211, recommends an annual inspection and cleaning as needed. For West Town homeowners who use their fireplace as a primary heat source from November through March, an annual sweep before the first burn is the right schedule. If you only light a fire for holidays and occasional evenings, every two years usually suffices, but the camera inspection should still be annual while you’re establishing your chimney’s baseline condition.
If the camera inspection finds cracked or missing flue tiles, the fix is usually a relining system. We install DuraFlex flexible liner systems, which are the professional standard for masonry chimneys that need relining without full demolition. The difference between a liner installed today and one deferred for two more seasons is the difference between a contained repair and heat-damaged brick that spalls from the inside out.
The Factory-Built Fireplace Maintenance Checklist
Factory-built fireplaces don’t have masonry, mortar, or clay tiles, so a masonry-style checklist misses the actual maintenance points. These units rely on a metal firebox, refractory panels, and double-wall pipe. West Town condos, loft conversions, and post-1990 single-family additions almost all use this system. Here’s what to check:
- Inspect refractory panels before the first fire of the season. Open the glass doors and look at the back and side walls of the firebox. These panel boards absorb and reflect heat back into the room. Hairline cracks are normal after a few seasons. Gaps wider than an eighth of an inch, crumbling edges, or panels that have shifted out of place are not. A cracked panel exposes the metal firebox shell to direct flame temperature, which warps the unit.
- Test the glass door gasket seal. Close the doors and run your finger along the edge of the glass. A healthy gasket feels springy and makes contact all the way around. A flattened or brittle gasket lets room air get pulled into the firebox, which makes the fire burn hotter and faster than the unit was designed to handle. Gasket replacement is a $50 to $150 fix that prevents a much larger overheating problem.
- Check the termination cap from the rooftop deck or alley. Factory-built chimneys terminate in a metal cap on the roof. Look for debris, bird nesting material, or snow accumulation after Chicago storms. A blocked cap forces combustion gases back into the living space, which is how carbon monoxide events start. If you can’t safely see your cap from a deck or window, this is a reason to call a professional who can access the roof safely.
- Verify the chimney pipe sections haven’t separated. Double-wall pipe is joined in sections that can pull apart if the house settles or if the pipe was knocked during roofing work. You can check the exposed section in the attic by running your hand along each joint. A visible gap at a seam means combustion gases are escaping into the attic space. This is a call-a-professional-today situation, not a seasonal checklist item.
- Schedule a professional inspection every two years. Factory-built units need less frequent sweeping than masonry chimneys because they burn cleaner and the pipe is smoother. But the components wear out on a predictable schedule, and a professional inspection with a camera catches panel cracks and pipe misalignment before they become a midwinter failure. We service these systems through our West Town chimney sweep inspections, and the same camera equipment works for metal flues as for clay tile.
Visual Checks You Can Do from a Window or Rooftop Deck
Many West Town homeowners never look at their chimney because they assume it requires climbing onto the main roof. It doesn’t. North-facing second-floor windows, rear decks, garret rooftop terraces, and even the alley behind your building give you clean sightlines to the chimney crown, cap, flashing, and upper brick courses. Here’s what to look for from each vantage point, and what it tells you:
- From a second-floor window: Check the crown for cracks and the upper brick for dark, wet-looking patches after it rains. Wet patches that stay dark for more than a day after rainfall mean the brick is absorbing water, which will spall during winter freeze cycles. Also look for white chalky streaks, called efflorescence, running down the brick face. Efflorescence means water is moving through the masonry and carrying salts to the surface. It’s an early warning sign, not a cosmetic issue.
- From a rooftop deck or terrace: This angle gives you the best view of the flashing. Look for separation between the metal and the brick, cracked caulk lines, or rust stains that suggest water is pooling against steel components. Also check the chimney cap or rain cover. A missing or dented cap lets rain and snow fall directly into the flue, which accelerates liner deterioration and creates the damp, smoky smell you notice when lighting the first fire of the season.
- From the alley or rear yard: Step back far enough to see the full chimney profile. A leaning chimney stack, or a visible curve in the upper courses, is a structural red flag. Watch for missing bricks, especially near the top where freeze-thaw does the most damage. Any brick that’s shifted out of plane with its neighbors indicates a failing mortar bed behind it.
These visual checks take fifteen minutes and cost nothing, but they catch problems while they’re still in the low-hundreds range rather than the low-thousands. For Chimney Repair in West Town, early intervention is the difference between tuckpointing and a full rebuild. The trick is consistency: pick a schedule, set a phone reminder, and do the same check twice a year whether or not you think anything changed.
Three Damper Checks Before the First Fire
Every fall, we get calls from West Town homeowners who lit their first fire and filled the living room with smoke, or who can’t get a fire to start at all because the damper is stuck in last spring’s position. Most of those calls could have been avoided with a five-minute damper check. Here are the three things to test before the first burn:
- Open and close the damper fully, twice. A damper that was left open all summer has had months to accumulate rust, especially in Chicago’s humid late-summer air. A damper that was left closed may have locked in place. Work the mechanism through its full range of motion. If it grinds, squeals, or won’t seat flush in either position, you’ve found a problem before it becomes a smoke-filled evening.
- Look up through the firebox with a flashlight. Open the damper, put your head inside the firebox, and shine a light up the flue. You should see a clear vertical passage with no visible obstruction. If you can’t see daylight or sky, something is blocking the flue. The most common culprits in West Town are chimney swifts that nested over the summer and left debris behind. A blocked flue forces smoke and carbon monoxide back into the room.
- Check the damper seal when closed. Close the damper and feel for air movement around the edges. A damper that doesn’t seal tightly lets warm air from the house escape up the chimney all winter, which adds real money to your gas bill. On a cold day, hold your hand near the damper edges. If you feel a draft, the damper gasket or metal frame needs attention before the heating season gets serious.
None of these checks require tools beyond a flashlight, and they take less than five minutes total. They don’t replace a professional inspection, but they prevent the most common first-fire service calls we see every October in West Town.
How to Log Maintenance History for Insurance and Resale
When a chimney fire or water-damage claim happens, insurance adjusters want to see that you maintained the system. When you sell a West Town property, buyers and their inspectors want the same thing. A maintenance log doesn’t need to be elaborate, but it needs to exist and it needs to be consistent. Here’s the format that satisfies adjusters and future contractors:
- Record the date, the service performed, and the contractor’s name. “10/17/2026 – Chimney swept and camera inspection completed – Brightway Chimney Sweep” is sufficient. If you do a visual check yourself, log that too, but keep it honest: “Visual check from second-floor window – no new cracks noted.” Adjusters trust a log that includes self-inspections alongside professional visits more than one that only shows paid invoices.
- Attach the camera inspection report or written findings. Professional sweeps should provide either printed photos from the camera inspection or a written summary of findings. Keep these with the log. If you ever have a claim, the photos prove what the chimney looked like on a specific date, and they give future contractors a baseline to compare against.
- Photos from your own visual checks help too. Take two or three smartphone photos of the crown and upper brick from your window or deck each year. Store them with the log. Six years of photos showing stable mortar and crown conditions is powerful evidence if an inspector later flags deterioration and you need to establish when it began.
- Store it digitally and share it with your insurance agent annually. A shared folder with your log and photos is enough. You don’t need a specialized app. What matters is that the record is dated, consistent, and accessible.
In our experience, homeowners who keep a simple log are also more likely to maintain on schedule, because the log makes maintenance a task with a due date rather than a vague “sometime before winter” intention. That’s the quiet work of a checklist: it doesn’t just remind you what to check. It creates the record that protects you later.
When a DIY Visual Check Is Enough vs. When You Need a Camera Inspection
This is the question most West Town homeowners get wrong in both directions. Some assume any chimney issue requires a pro, so they put off checks they could easily do from a window. Others assume a visual check from the ground covers everything, so they skip the professional inspection that would have caught a cracked flue tile. Here’s the practical line:
A DIY visual check is enough for: crown cracks visible from a window or deck, flashing separation you can see from a rooftop terrace, spalled brick on exposed chimney courses, damp patches or efflorescence on the chimney face, damper movement problems, and obvious cap or bird-screen damage. If you can see it from a safe, stable position, you can monitor it yourself. Log it, photograph it, and check it again next season.
A professional camera inspection is required for: anything inside the flue, which is the only place where the most dangerous damage lives. Cracked clay tiles, gaps between liner sections, creosote buildup hidden behind a bend, or a deteriorated smoke chamber. You can’t see any of these from the outside, and by the time they produce visible symptoms, you’ve usually got a chimney fire or a carbon monoxide problem in progress. The smoke chamber check is the one we flagged at the top of this guide: it’s the most skipped item on every generic checklist, and it’s the repair that costs the most to ignore.
Here’s the rule of thumb we tell West Town homeowners: if you can see it, look at it twice a year. If you can’t see it, have it looked at by a pro with a camera at least every two years, and annually if you burn wood through the winter. The camera inspection is the only way to see what’s happening inside the flue and smoke chamber before it becomes a repair bill. We perform these camera inspections as part of every West Town chimney sweep visit, and the photos go directly into your maintenance log.
Common Mistakes to Avoid
- Skipping the smoke chamber check. The smoke chamber sits above the firebox and below the flue liner, and it’s the most vulnerable part of a masonry chimney. Mortar spalling here goes unnoticed for years because you can’t see it without a camera. By the time it’s caught, the repair is often $800 to $2,000, compared to a few hundred dollars for early parging. If you only add one thing from this guide, add this.
- Assuming a factory-built fireplace doesn’t need maintenance. Zero-clearance units have a 10 to 15 year component lifespan. Cracked refractory panels and worn gaskets are wear items, not defects. Skipping them because the fireplace “looks fine” is how a $200 panel replacement becomes a $2,000 firebox replacement.
- Using a masonry checklist on a factory-built unit, or vice versa. The failure points are completely different. A West Town greystone homeowner checking refractory panels won’t find them, and a condo owner checking for spalled brick isn’t looking at the parts that actually fail.
- Waiting until you smell smoke indoors to think about the chimney. Smoke backup is a late-stage symptom. The problems that cause it, whether a blocked flue, a failed damper, or a deteriorated liner, were all visible or detectable long before the smoke appeared, if anyone was looking.
- Deferring flashing repair because it’s “just a small gap.” A hairline gap in chimney flashing leaks slowly into your attic and wall cavity for months before you see any evidence inside. By the time the ceiling stains, you’re dealing with water damage remediation on top of the flashing repair. West Town’s freeze-thaw cycles widen small gaps every winter.
- Burning wood in a chimney that hasn’t been inspected since you bought the house. When you buy a West Town property, the previous owner’s maintenance habits are unknown. A chimney that looks clean from the outside can have a creosote-glazed flue or cracked liner from years of deferred service. The first season in a new home is the most important time for a camera inspection.
- Not logging anything. Memory isn’t documentation. If you ever file a claim or sell the property, a two-paragraph log with dates and photos is worth more than your recollection of what was checked and when.
When to Call a Professional
Some things on a chimney maintenance checklist are genuinely DIY-friendly. Looking at crown cracks from a window is fine. Checking a damper takes five minutes and no tools. But when the checklist turns up one of these items, stop and call a professional: a visual chimney lean or shifted brick, a blocked flue you can’t clear from the firebox, a crack in a factory-built refractory panel wider than an eighth of an inch, failed flashing with visible water staining, or any camera-inspection finding inside the flue you couldn’t see yourself. These are not monitoring situations. They’re repair situations. Brightway Chimney Sweep home offers free estimates in West Town. Call (833) 365-6591 to schedule a camera inspection and get a straight answer on what needs attention now versus what can wait.
Frequently Asked Questions
If you burn wood more than twice a month through heating season, sweep annually, ideally in early fall before the first fire of the year. If you use your fireplace only occasionally, every two years is usually sufficient, but schedule a camera inspection annually for the first few seasons to establish a baseline. West Town’s masonry chimneys with original clay liners tend to accumulate creosote faster than newer factory-built systems because the flue surface is rougher. Call (833) 365-6591 to schedule a sweep and camera inspection.
A standard chimney sweep with a camera inspection in West Town typically runs $200 to $350, depending on the chimney type, height, and the amount of creosote present. Masonry chimneys with heavy glaze buildup cost more than factory-built units that haven’t accumulated much. If the inspection finds cracked flue tiles or a deteriorated smoke chamber, repair costs are separate, and a full relining with a DuraFlex system starts around $2,500 to $4,500 depending on chimney height and access. Estimates are free. Call (833) 365-6591 for an exact quote.
A cracked or missing clay tile liner cannot wait, because the gap lets combustion heat reach the brick and surrounding framing, which is how chimney fires start. If the camera inspection shows minor spalling in the smoke chamber but the flue liner itself is intact, that’s a repair you can schedule within the season without immediate danger. We use HeatShield ceramic resurfacing for smoke chambers and flue restoration that doesn’t require full liner replacement, and DuraFlex liners when the existing clay liner has failed. Get a camera inspection first. The photos will show you exactly what needs attention, and nothing is recommended without that evidence. Call (833) 365-6591 to book.
Three things happen, in order. First, creosote accumulates inside the flue, which is combustible and is the direct fuel for chimney fires. Second, water enters through cracks in the crown, flashing, or mortar joints, triggering spalling that accelerates each winter. Third, the deterioration compounds, turning a $300 sweep and small tuckpointing job into a $2,000 smoke chamber repair and a $4,500 relining project. The timeline depends on your chimney type and how often you burn, but the progression is consistent. The earlier the inspection, the less any of this costs.
Masonry chimneys built before 1940 in West Town need attention to the crown, flashing, mortar joints, clay tile liner, and smoke chamber because those components all degrade from weather and heat. Factory-built units need attention to the refractory panels, glass door gaskets, pipe joints, and termination cap because those are the wear components. The maintenance schedule and the repair economics are different for each, which is why a generic checklist that doesn’t distinguish between them fails both groups. For help selecting products, see our Choosing the Right Chimney Cleaning Brand: A Buyer’s Guide for West Town. Use the track that matches what you actually own.
Most policies cover sudden damage, like a chimney fire or storm damage, but not damage caused by deferred maintenance. If you file a claim and the adjuster sees years of missing service records, cracked crowns that were never addressed, or creosote buildup consistent with years of neglect, the claim gets denied. A maintenance log with dated entries, photos from visual checks, and records from professional sweeps is the documentation that makes a covered claim hold up. Start the log now, even if you’re just starting maintenance this season. Call (833) 365-6591 for a free estimate on your first professional inspection.
The Bottom Line
West Town homeowners don’t need a longer checklist. They need the right checklist for the chimney they actually own. If you have a masonry chimney, the crown, flashing, mortar joints, flue liner, and smoke chamber are your annual priorities. If you have a factory-built unit, the refractory panels, gaskets, pipe joints, and termination cap are what you’re checking. The smoke chamber is the most skipped item on both tracks and the repair that costs the most to defer. Keep a simple log. Do the visual checks from your window or deck twice a year. Get a camera inspection on schedule. For more guides & resources, explore our blog. And when the checklist turns up something that isn’t right, don’t guess about it. Call Brightway Chimney Sweep at (833) 365-6591 for a free estimate and a straight answer on what needs attention now.
Written by the team at Brightway Chimney Sweep, serving West Town since 2016.
See the difference
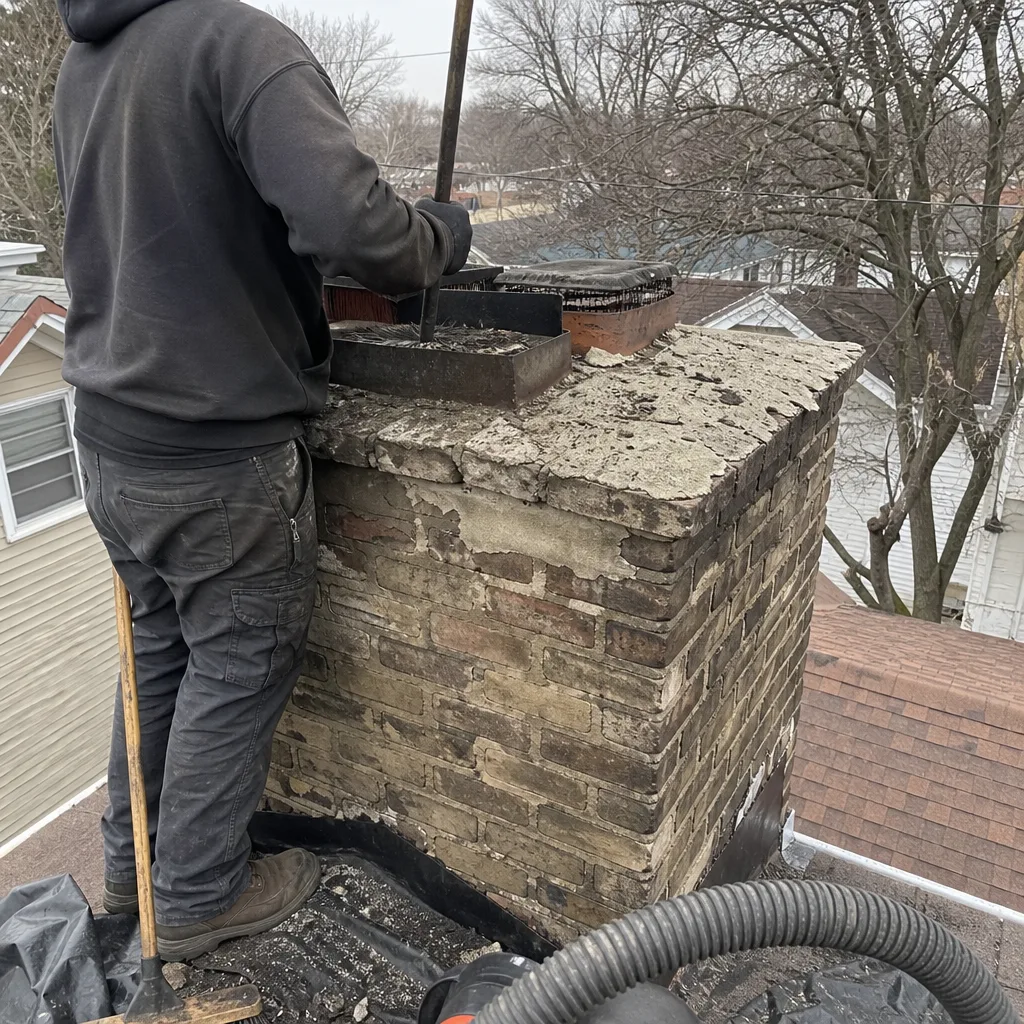 Before
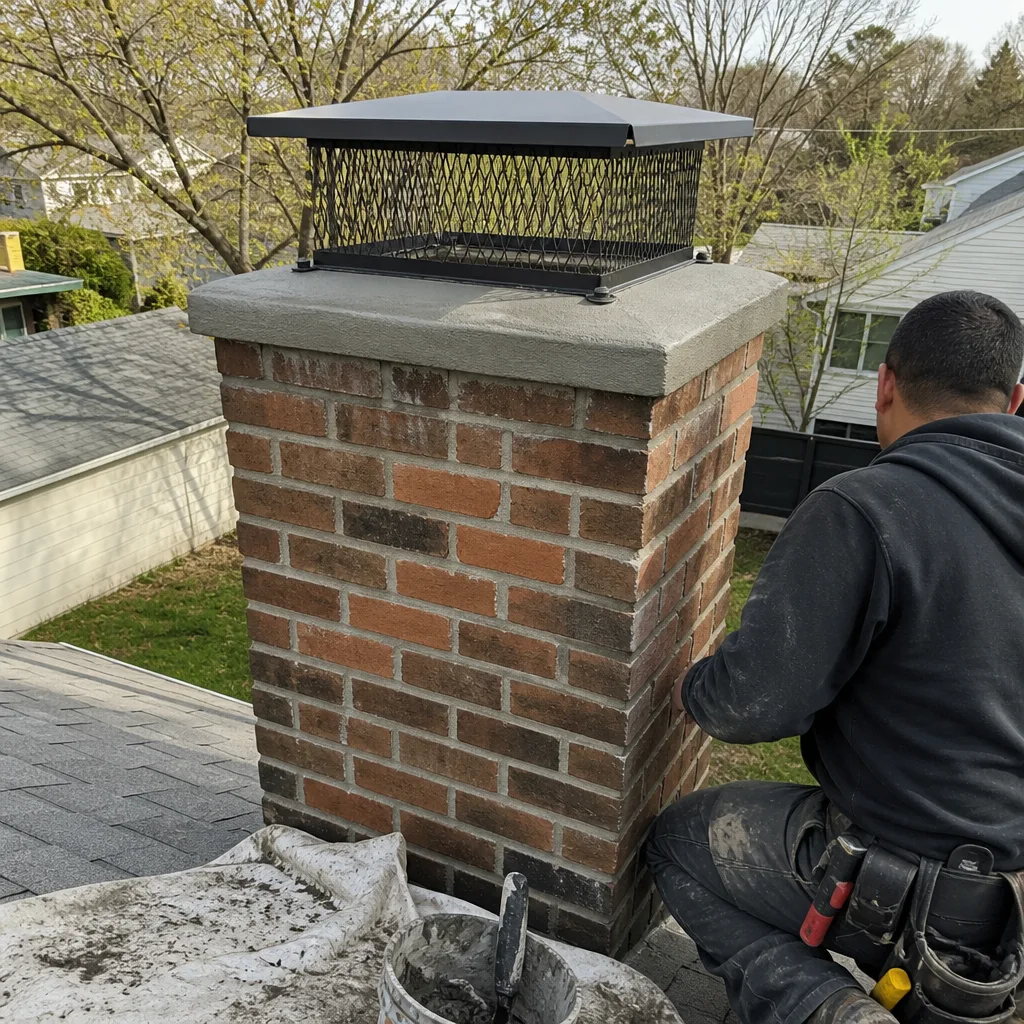 After
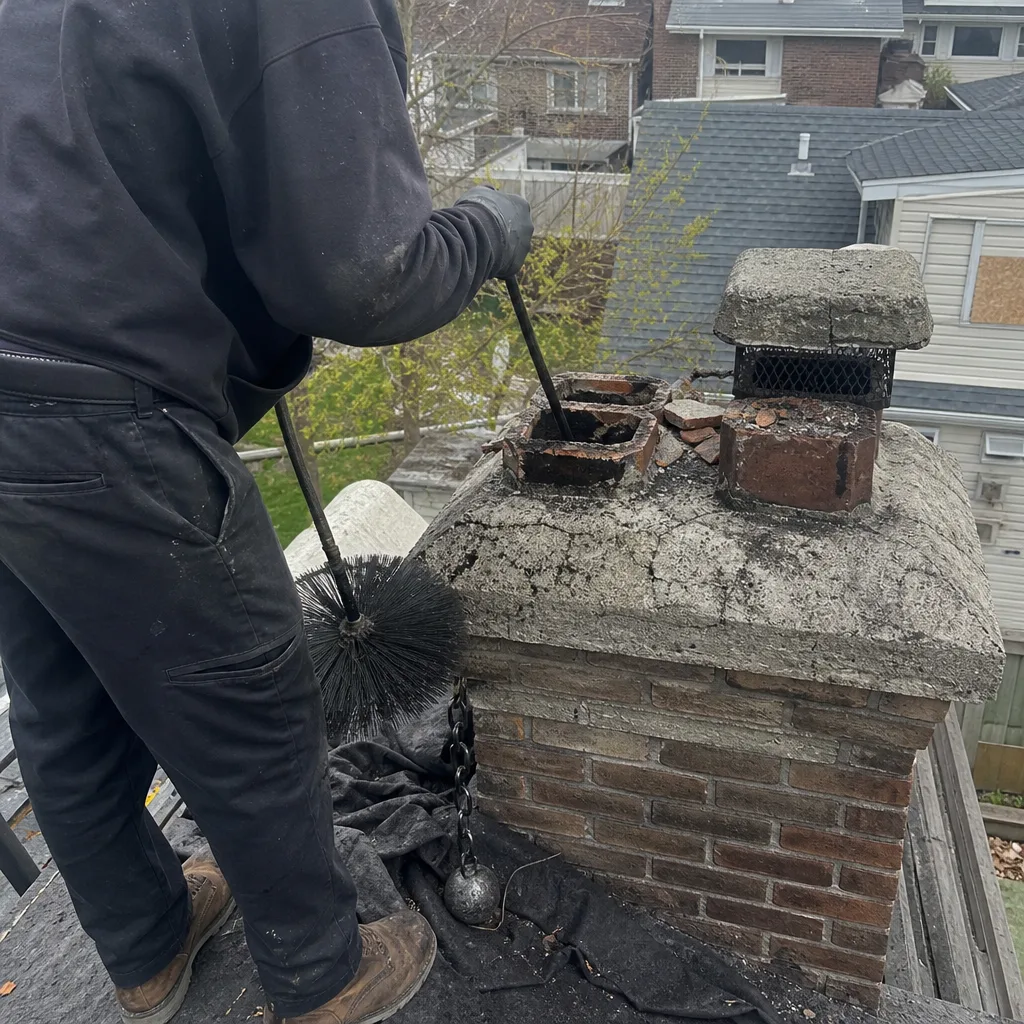 Before
 After
 Before
 After